Notice: Trying to get property of non-object in /home/mo/prod/old.dpk/tools/smarty/sysplugins/smarty_internal_templatebase.php(157) : eval()'d code on line 72
href="/modules//smartblog/images/275.jpg" data-fancybox-group="other-views" class="fancybox shown" title="
Notice: Undefined index: imageTitle in /home/mo/prod/old.dpk/tools/smarty/sysplugins/smarty_internal_templatebase.php(157) : eval()'d code on line 76
Notice: Trying to get property of non-object in /home/mo/prod/old.dpk/tools/smarty/sysplugins/smarty_internal_templatebase.php(157) : eval()'d code on line 76
">

Windows Server 2016: Installation Procedure

To begin
After launching Microsoft Windows Server 2003 and Microsoft Windows Server 2008 R2, Microsoft released on October 5, 2016, Microsoft Windows Server 2016.
Microsoft Windows Server 2016 is available in three versions:
• Standard Edition:
This edition is for structures with more than 25 users and almost all features are enabled. However, it is limited to only two virtual machines.
• Datacenter Edition:
This edition is the most complete because all the features of the new Cloud OS are available and the number of processors or virtual machines is unlimited. This edition is more suited to
• Essentials Edition:
This edition of Windows Server 2016 is suitable for small businesses with up to 25 users and 50 client devices.
This article will show you the procedure for installing on Windows Server 2016.
The steps to follow
1. Get the ISO of Windows Server 2016.
2. Start your virtual machine with the ISO mounted.
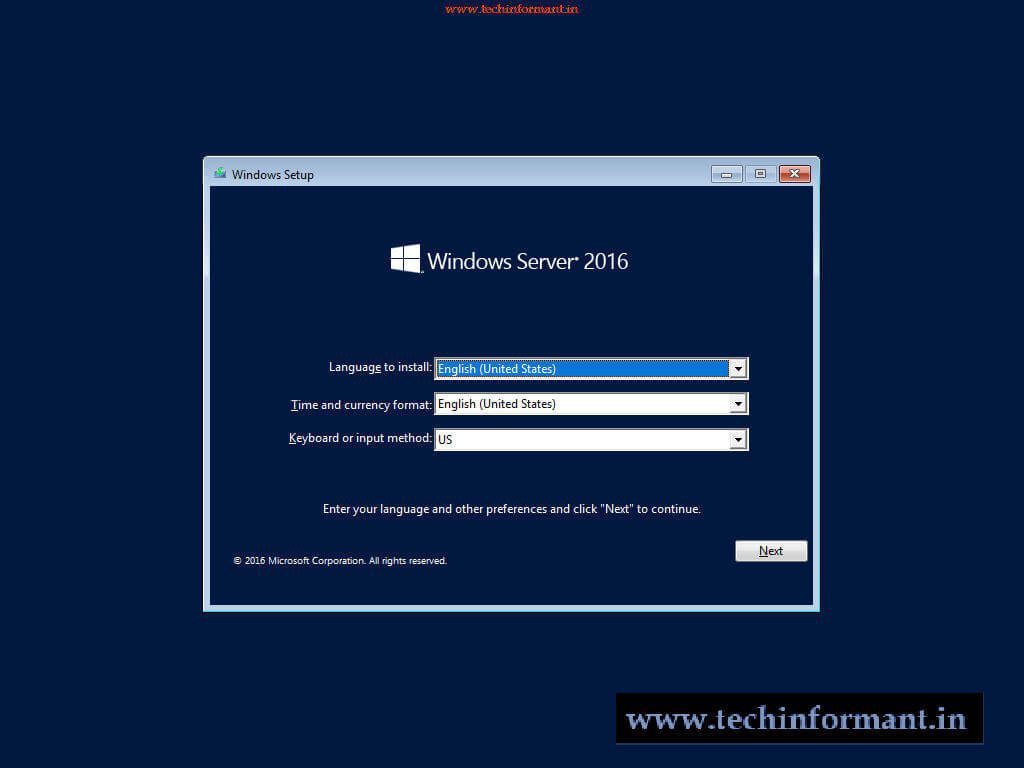
3. After a few minutes, the first installation screen will appear, select the language, time format
Then click on "Next".

4. Click on the " Install Now" button.

5. To activate Windows during installation, specify the product key to activate the system once installed and then click the "Next" button.
If you want to activate later, click on "I do not have a product key" to continue installing Windows.

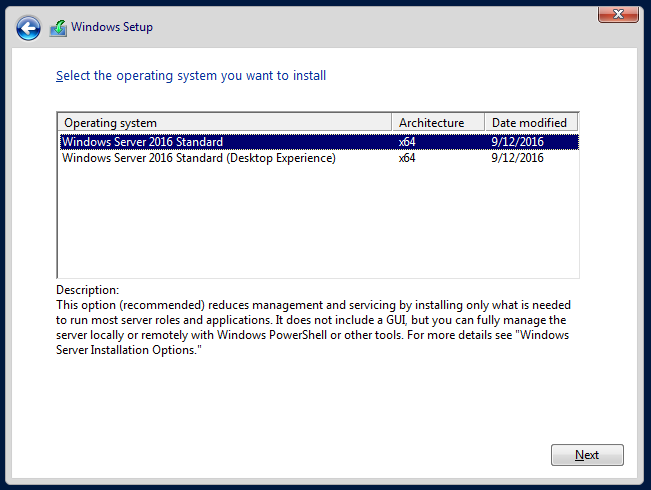
6. Select the edition to install on your machine, then click on "Next":
• The choice between Windows Server Standard and Datacenter is based on the purchased license
• "User Experience" means GUI: recommended choice
In case of installation of " Windows Server 2016 Standard" without the User Experience your edition will be devoid of GUI there will be no graphical environment with the Start menu, the mouse, etc.
7. Check "I accept the terms of the license agreement" and click on the "Next" button.

8. Select the "Custom" installation type to manage disks and partitions.

9. Select the hard disk on which you want to install the Windows operating system. Delete, format and manage the volumes if necessary then click on "Next" to start the installation.

10. Windows is being installed. It can take a few minutes.
Do not turn off your computer as this may cancel the current installation.
Once the installation is complete, your machine will restart automatically.

11. Enter a password for the Server Administrator account and click "Finish".

12. To unlock your session, Windows Server imposes the famous combination "Ctrl + Alt + Del".
13. Enter the password for the Administrator account and press "Enter".

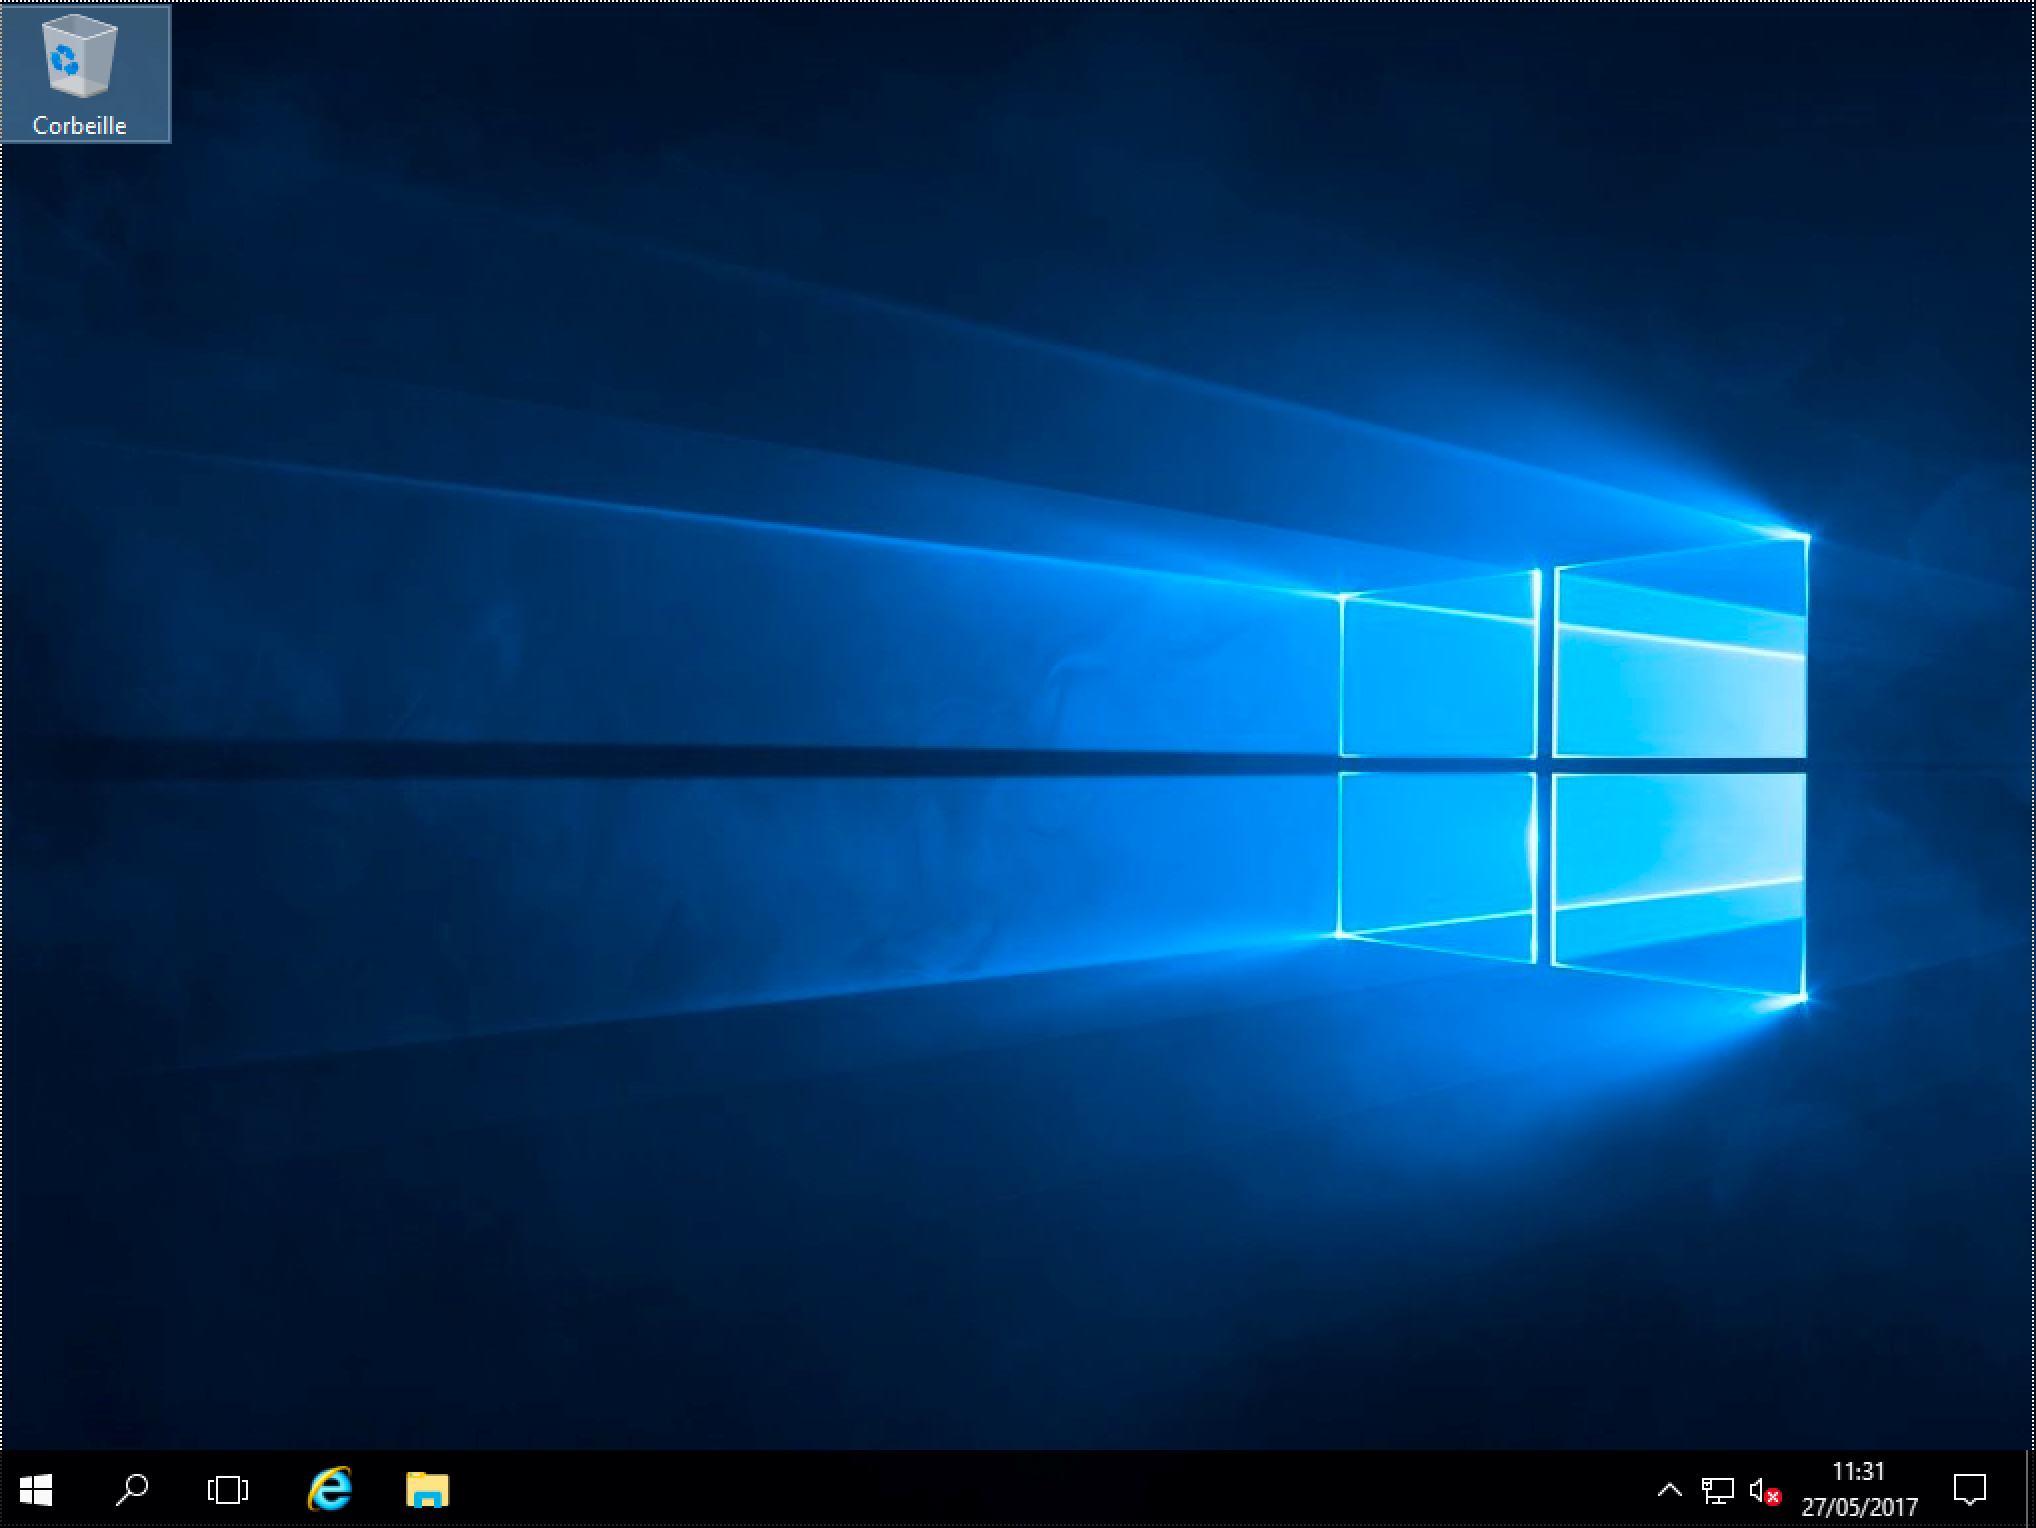
14. After unlocking the session, you can start using your Windows Server 2016 OS and administer it through Server Manager.

The server manager defaults to logging on to the server.

The Server Manager console allows you to bundle essential tools for administering a local or remote Windows server.
With this, a system administrator can quickly access the following:
• Management of server features
• Managing certain server roles
• Management of remote servers
• Local server configuration management
• Management of file and storage services ...

